Wednesday, 3 July 2013

Soviet Armoured Column - Part 5


Just a wee update before I go to France. From here, progress and updates should be more frequent as I will have far more time and (fingers crossed) sunshine. I, literally 5 mins ago, bought a new airbrush, my first Iwata. I wanted one that had the capability to spray fine lines and panels for a reasonable price. I chose the Neo for Iwata CN.
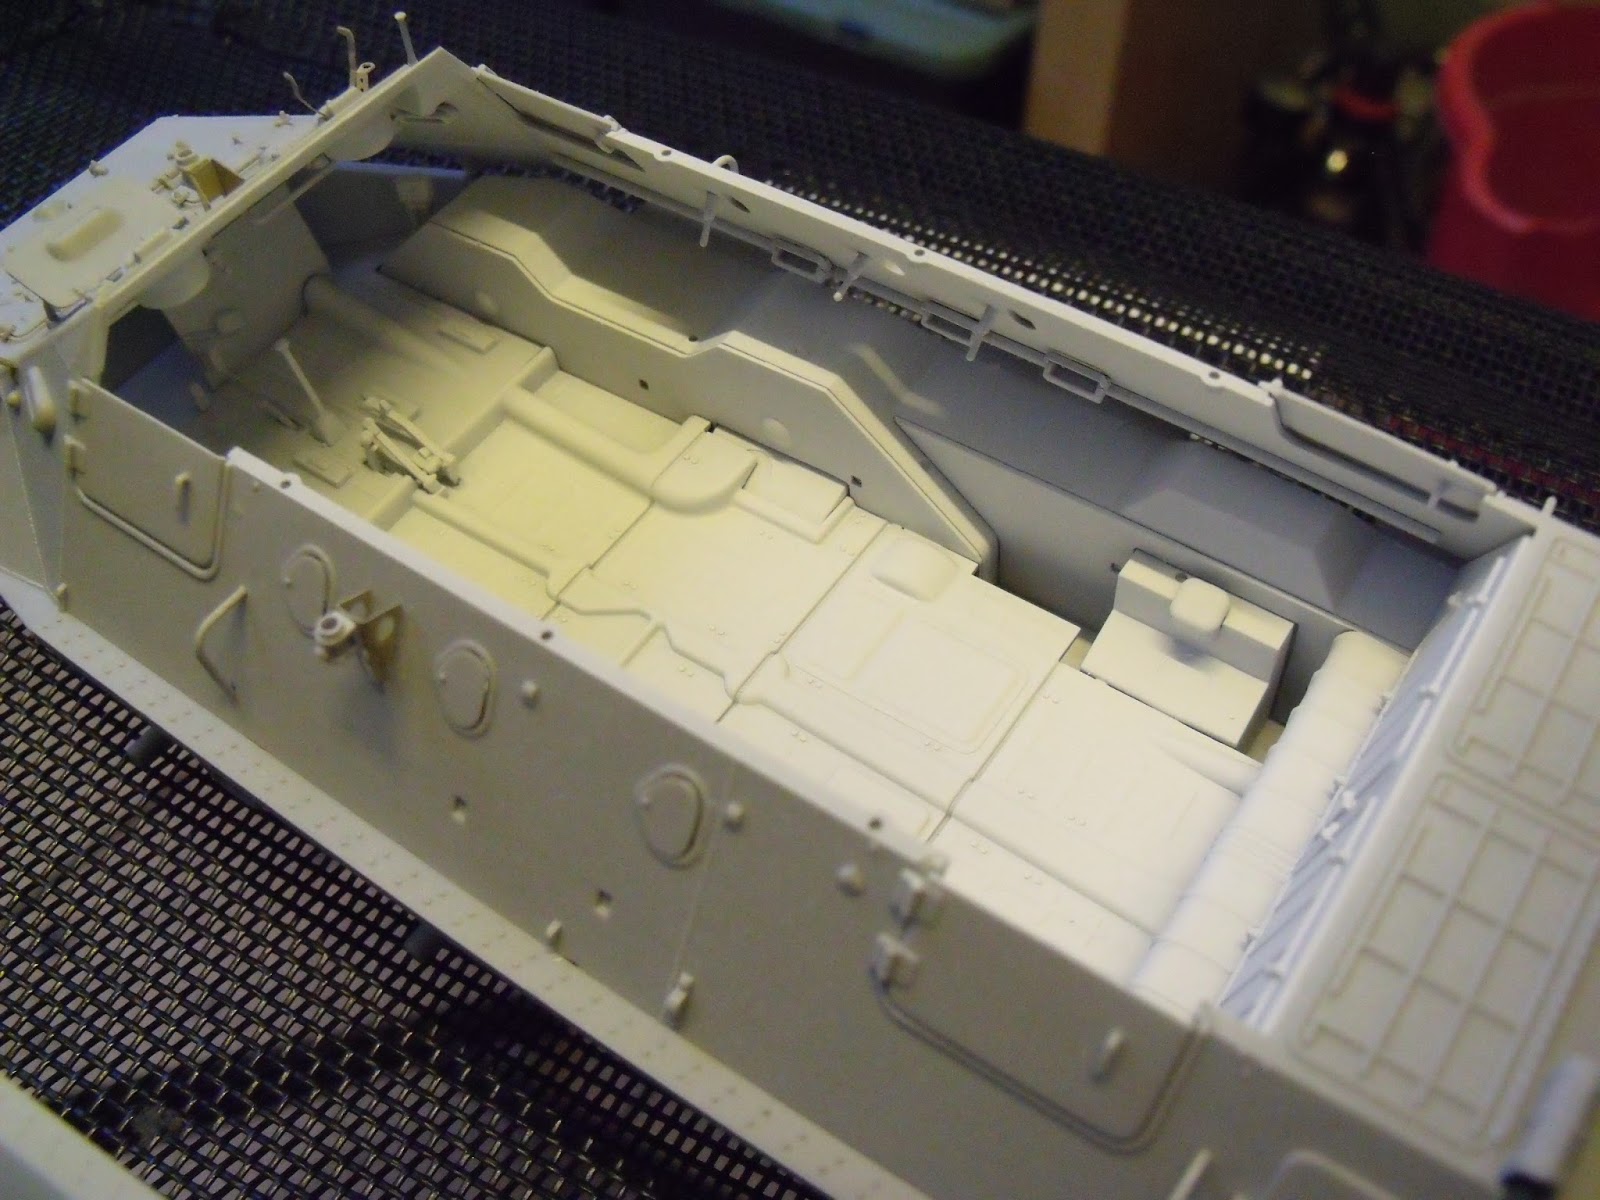
Anyway, I got the interior of the BRDM-2 almost done and the other vehicle interiors primed with white. Only some final weathering and assembly left to do, then I can seal it, ready for priming.
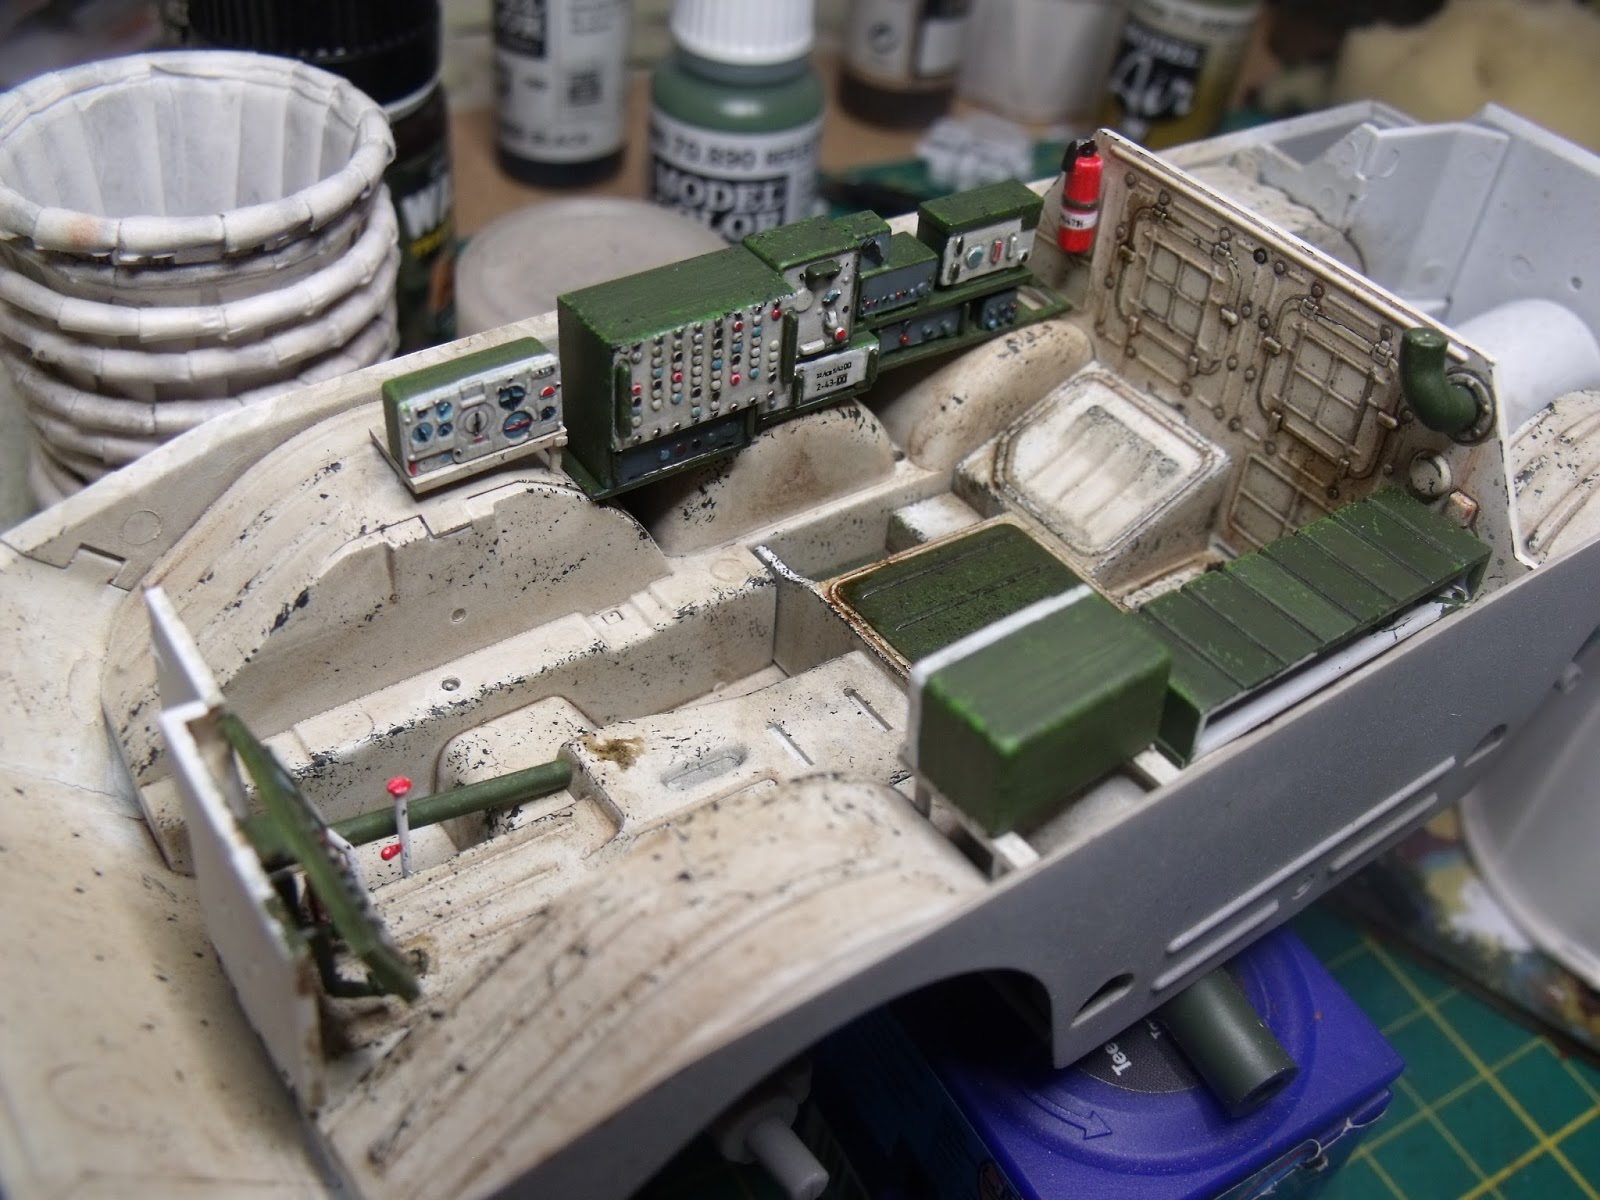
Halford's Matt White was used as a base upon which selected areas were painted green. Chips were added with Black Grey and Olive Green. The radios were done using various bright colours. To tone back the stark white, I used Vallejo Brown Wash for the first time. This worked perfectly, highly recommended. Once varnished, thinned AK Track Wash was applied followed by some Light Rust and Grease Stains. The rest was fairly standard, brown for the seats and black for the steering wheel etc.
Enjoy


Thursday, 30 May 2013

Chechnya River Crossing - Part 2

Hi guys,
Just a tiny update. I got the schnorkel and extended periscope done. They are'nt completely accurate but will do. The EP is a bit wider and taller than it should be but ohh well. I used the aerial from a remote control car remote to make the first two tiers of the schnorkel and a piece of plastic pipe for the third. A cross section of wire was then used to create a gap between the plastic pipe and a circular piece of etch that forms the cover.


Soviet Armoured Column - Part 4

Hey again,
Almost finished the Totopet so decided to take some quick shots for now. Later I will post better pictures when it is completely finished.
After the chips were done, brown oil paint was smeared on the doors, roof, bonnet, boot and sides. This was then worked back and forth using a moist brush. Once dry I proceeded to apply some rust streaks in various places. The two orange lights at the front were painted orange (duh) and then coated in gloss varnish. The rear brake lights and head lights are small glittery crystal things. You find them at craft stores in bags or on self-adhesive sheets. The number plate was replaced with a thin piece of plastic as the kit part was far too thick. A decal was the put on. The decals had to be trimmed as they had Asian writing on them. I lost one of wing-mirrors so had to use the police siren that comes with the model (The car is intended to be a police car). I'll just tell people that its an elaborate horn :). A bit of wire was used to add a bit of interest. The tyres still need finished but I need to wait so I can blend them with the diorama and other vehicles.