Hi guys, this isnt really a proper post, simply something Ive been pottering with for a while.
Bought this kit in France just for something to do. Overall, detail and build quality was quite poor with part fit causing several headaches :D . However, few parts meant it was constructed fairly fast.
Once complete, a coat of Vallejo Black Grey was laid down, quickly followed by AK Worn Effects. Multiple mists of acrylic white were to provide the illusion of Winter camo before weathering could commence. Darker, more cream/brown shades of white were used on the lower hull and in crevices to suggest a dirtier paint finish. After applying German decals, only then did I decided Russian markings would be more appealing :D :D :D
Warm water, toothpicks and a synthetic bristled brush were my tools to turn this new looking vehicle into a beaten work horse of the Red Army. Rubbing gently and scrubbing on lower areas I slowly eroded the white camo to reveal it's past life in the Whermacht. Once finished chipping, a red star was placed on the bonnet and given a coat of the excellent Vallejo Matte Varnish.
Diluted white paint was spattered all over the vehicle to represent some form of irregularities. This was followed by streaks of various Abteilung Oil Paints which were then dragged down using a brush moistened in thinners to create fading and rain marks. A pin wash of black and brown was used to accentuate the few details present such as hinges and bolts. I utilised the AK Dark Earth pigment to insinuate dirt on horizontal/shallow incline panels such as the upper bonnet.
A recognition tarpaulin was placed on the front as if to help identify that, although the vehicle is German, it is on Russian service. This was painted orange, given a brown wash and dry brushed. The base was made from insulation foam with a large hole scooped out before fixing the Sdkfz into said hole. Polyfilla mixed with sall stones, sand and paint was then used to represent mud, where the vehicle has become stuck. Eventually I will put a layer of artificial water on the base along with some Soviet figures. My idea is to have some soldiers posing on the hull whilst one takes a photo from the banking.
Got any questions? Email me - Sovietboy2291@hotmail.co.uk
Friday, 23 May 2014
Sunday, 18 May 2014
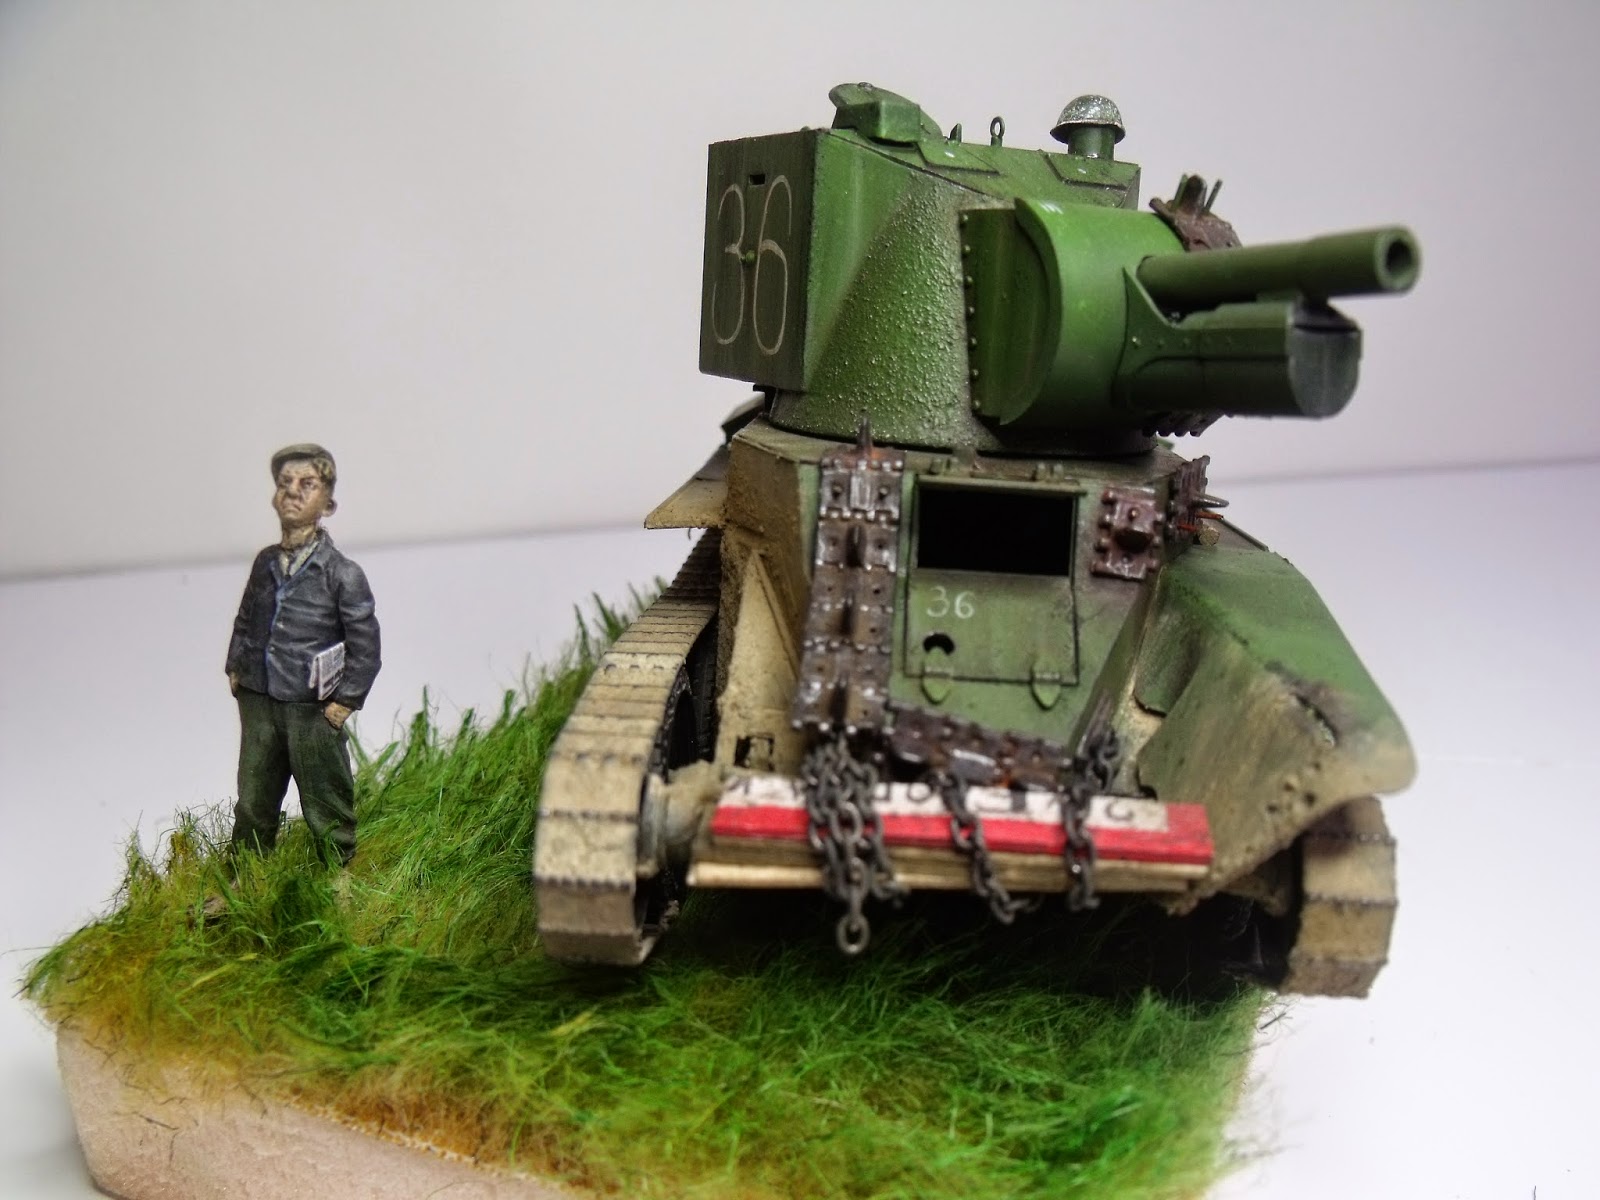
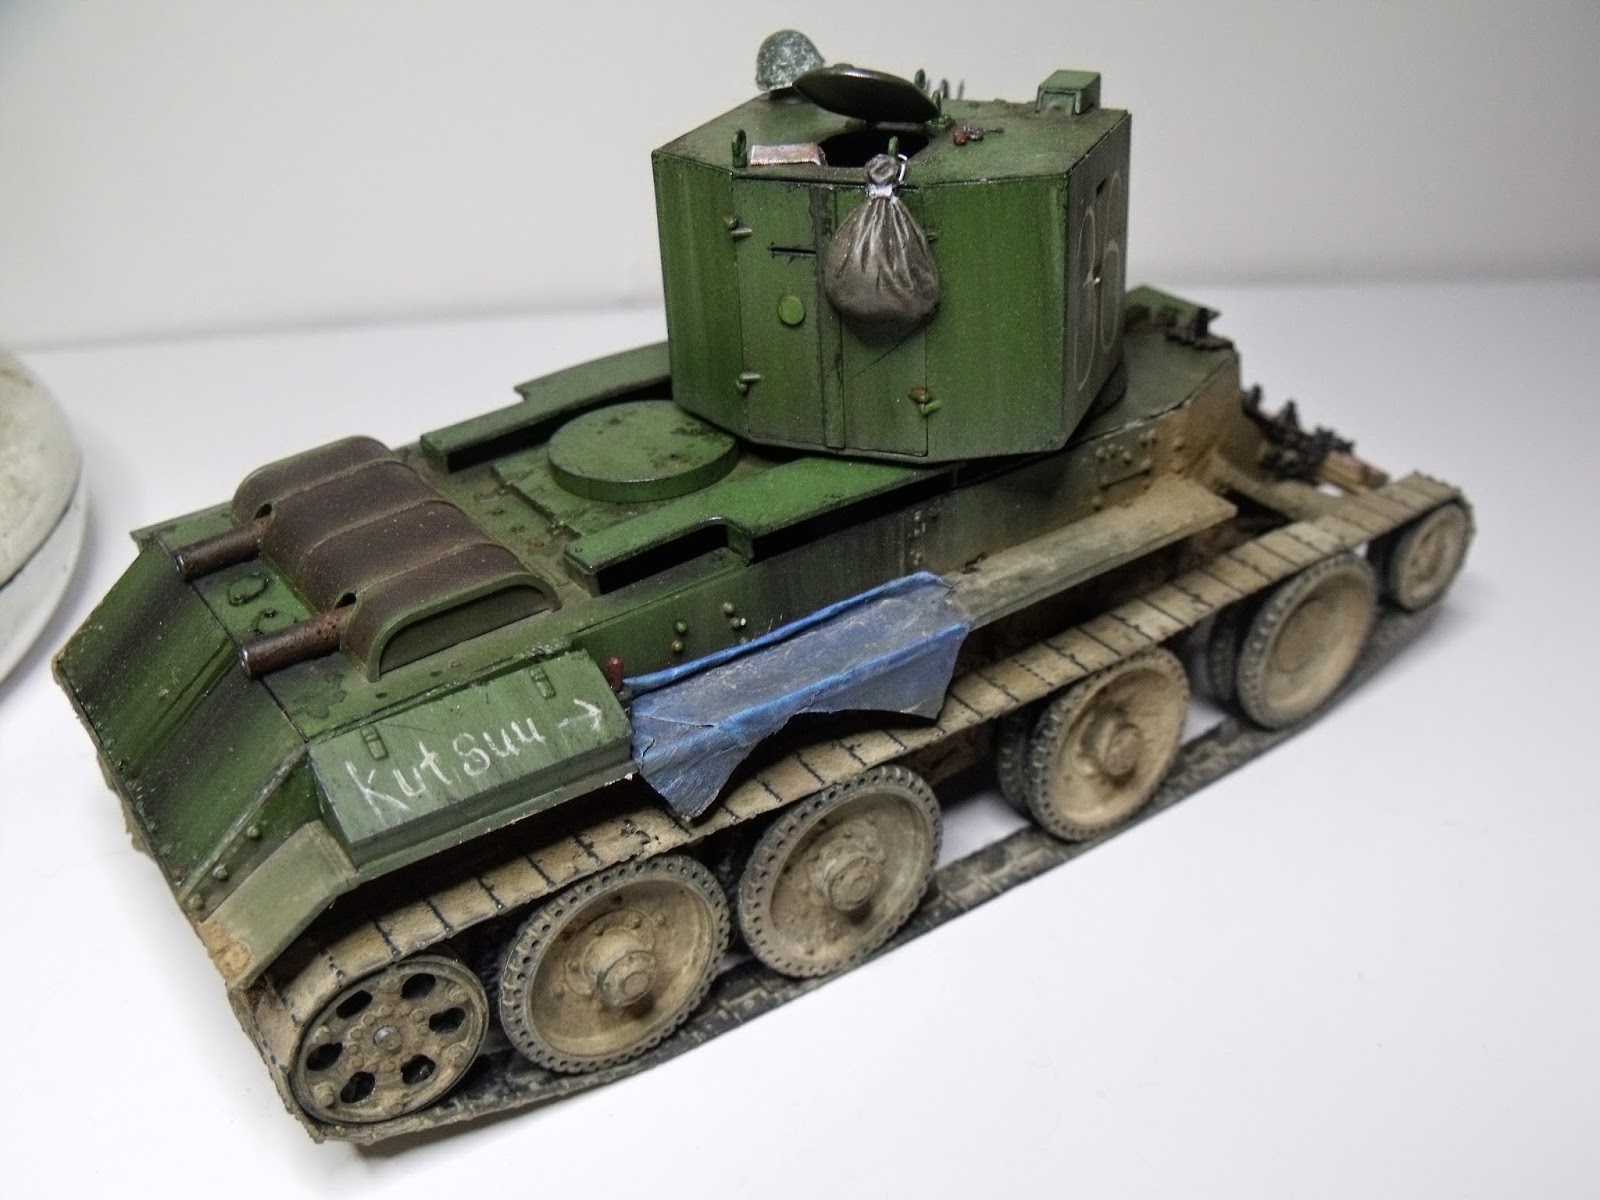
1/35 Eastern Express BT-42
Hi guys, sorry again for the delay, had exams :(
I started this kit back in October just as something to build at the club. I have noticed that a magoirty of the models I do are older ones I only start for something to do rather than focusing on the newer, better kits I have. Weird. Anyway, for its age and manufacturer, I was very pleasantly surprised as superb surface detail and ease of construction led to a simple build. My only additions were a texturing of the BT-7 turret section (probably not accurate but adds interest), exhaust and installation of spare track mounting pins. Games Work Shop 'Liquid Green Stuff' was stippled on for the rough effect seen on the fore-mentioned parts. The front left fender was damaged with a drill before being given the 'Green Effect'. The suspension was also very subtly weighted at the back to create the illusion of traversing the sloped terrain I had envisaged from the start.
To begin with, I sprayed the model with Model Air Matt Black to provide initial depth. next came highlights of white before a final coat of a bright green which I made from various colours. As usual, I am no happy with the way my airbrushing went and feel I must put more effort into this area. Anyway, this was followed by the usual process of Vallejo Olive Green with black infill. The mighty Adam Wilder's 'Speckling' technique was empolyed to add a finer level of chipping. Worn areas were then given shine using a pencil. One of the fuel tanks was given a layer of the excellent AK Interactive 'Worn Effects' before being painted white. Warm water and a synthetic bristled brush was used to reveal the underlying green. Many stowage boxed are supplied and I painted them all but in the end only used two :D . Im sure you've become to expect this but, I painted my own markings using a fine brush for the inverted swastika and a home made mask for the razor teeth (the slogan on the right, rear stowage box supposedly reads 'Forward').
Weathering took the form of multiple washes including AK's 'Dark Brown For Green'. Once these washes had dried, AK's 'Kursk Earth' or 'Kurks Earth' as it is spelt on the bottle :D :D, was used in conjunction with various oils from the Mig Abteilung range for creating streaky effects. Concentrations of black were used below the 'air intakes' and exhaust tips to suggest soot expulsion from these ports. Small areas on horizontal surfaces were given patches of different toned browns to replicate dirt build-up. Highly diluted acrylic black was then used to form dried up blotches of oil around the engine access panels etc. Rust was kept minimal as I made the presumption of these vehicles having been recently refurbished. The exhaust screen was the only exception being victim to heavy orange washes before rubbed with graphite. AK's 'Dark Earth' pigment was used frequently throughout this build as it is probably my favorite colour of powder you can get and has nice adhesion qualities
I started this kit back in October just as something to build at the club. I have noticed that a magoirty of the models I do are older ones I only start for something to do rather than focusing on the newer, better kits I have. Weird. Anyway, for its age and manufacturer, I was very pleasantly surprised as superb surface detail and ease of construction led to a simple build. My only additions were a texturing of the BT-7 turret section (probably not accurate but adds interest), exhaust and installation of spare track mounting pins. Games Work Shop 'Liquid Green Stuff' was stippled on for the rough effect seen on the fore-mentioned parts. The front left fender was damaged with a drill before being given the 'Green Effect'. The suspension was also very subtly weighted at the back to create the illusion of traversing the sloped terrain I had envisaged from the start.
To begin with, I sprayed the model with Model Air Matt Black to provide initial depth. next came highlights of white before a final coat of a bright green which I made from various colours. As usual, I am no happy with the way my airbrushing went and feel I must put more effort into this area. Anyway, this was followed by the usual process of Vallejo Olive Green with black infill. The mighty Adam Wilder's 'Speckling' technique was empolyed to add a finer level of chipping. Worn areas were then given shine using a pencil. One of the fuel tanks was given a layer of the excellent AK Interactive 'Worn Effects' before being painted white. Warm water and a synthetic bristled brush was used to reveal the underlying green. Many stowage boxed are supplied and I painted them all but in the end only used two :D . Im sure you've become to expect this but, I painted my own markings using a fine brush for the inverted swastika and a home made mask for the razor teeth (the slogan on the right, rear stowage box supposedly reads 'Forward').
Weathering took the form of multiple washes including AK's 'Dark Brown For Green'. Once these washes had dried, AK's 'Kursk Earth' or 'Kurks Earth' as it is spelt on the bottle :D :D, was used in conjunction with various oils from the Mig Abteilung range for creating streaky effects. Concentrations of black were used below the 'air intakes' and exhaust tips to suggest soot expulsion from these ports. Small areas on horizontal surfaces were given patches of different toned browns to replicate dirt build-up. Highly diluted acrylic black was then used to form dried up blotches of oil around the engine access panels etc. Rust was kept minimal as I made the presumption of these vehicles having been recently refurbished. The exhaust screen was the only exception being victim to heavy orange washes before rubbed with graphite. AK's 'Dark Earth' pigment was used frequently throughout this build as it is probably my favorite colour of powder you can get and has nice adhesion qualities
Monday, 10 February 2014
Sorry
Hi guys
Really sorry for the long gap between posts, had exams etc :( . Anyway, I have been doing some stuff and will hopefully be posting a couple of updates on various projects over the next few days. I'd also like to apologies for the lack of Soviet Naval Convoy pictures, still not got round to doing it and for this I am ashamed :D :( :( Been busy with fore-mentioned projects and here is a list of what is to come (fingers crossed)
-Eastern Express BT-42 - Finnish Service (Finished)
* -Tamiya T-62 - Czechoslovakian Service (Almost Finished) *
-Historic Models Sdkfz 232 - Russian Serice (Finished Except From 'Diorama')
-Tamiya Char Bis 1 - French Service (Primed)
-Zvezda/SP Designs 2S23 Nona SVK - Russian Service (Primed)
-A couple of other wee things :D
* I know that Czechoslovakia did not field this tank, however they did produced them under license for export. My 'What-If' scenario is that of one being used in Winter trials to test quality before deciding whether to manufacture it :D :D *
Really sorry for the long gap between posts, had exams etc :( . Anyway, I have been doing some stuff and will hopefully be posting a couple of updates on various projects over the next few days. I'd also like to apologies for the lack of Soviet Naval Convoy pictures, still not got round to doing it and for this I am ashamed :D :( :( Been busy with fore-mentioned projects and here is a list of what is to come (fingers crossed)
-Eastern Express BT-42 - Finnish Service (Finished)
* -Tamiya T-62 - Czechoslovakian Service (Almost Finished) *
-Historic Models Sdkfz 232 - Russian Serice (Finished Except From 'Diorama')
-Tamiya Char Bis 1 - French Service (Primed)
-Zvezda/SP Designs 2S23 Nona SVK - Russian Service (Primed)
-A couple of other wee things :D
* I know that Czechoslovakia did not field this tank, however they did produced them under license for export. My 'What-If' scenario is that of one being used in Winter trials to test quality before deciding whether to manufacture it :D :D *
Wednesday, 1 January 2014
Chechnya River Crossing - Part 5
Merry Christmas and a Happy New Year!
Really sorry for the long absence, I could just never find the time. Anyway, after finishing this project quite a few weeks ago, I have managed to get some photos.
Once the vehiclees had been set in, I painted the base a mucky brown and mixed up the Deluxe Materials resin. Now, I am not sure whether it is my fault or the DM's but, to this date, the resin has not completely set and is still very sticky. I spent hours stippling it and texturing it to no avail. Everytime I went back it had leveled out again. However, I just had to accept it and the next step was to add wake. I did this by applying clear Silicone used for sealing bathrooms. It is very cheap and effective. I used this product solely to create water a few years ago and it looks ok for the price. With all this done, I entered it at Glasgow Modelfest (along with loads of other models. I will post a few pics :D ) and won a 1st! However, not long after the show, my Dad dropped a picture frame on it. The corner smashed right through the resin and created a large hole. I managed to salvage it and I now think it looks far better, albeit gruesome. I severely modified and Russian soldier and gave him a spare barge pole and tied a rope around his waste. The mechanic included in the Zvezda Mercedes L4500A was modified to resemble a corpse and bare bones and rotting flesh have been added. The idea is that the crewman is trying to dislodge the body from the rock.
Thats pretty much it. I hope to have another few posts up soon including my almost completed BT-42 and detailed pics of the Soviet Naval Column.
Thanks
Subscribe to:
Posts (Atom)