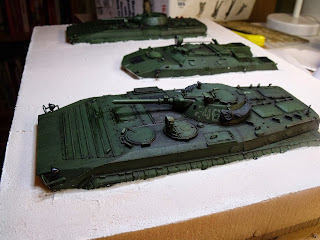
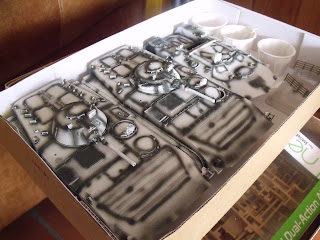
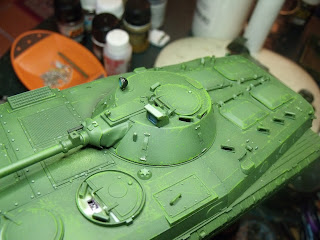
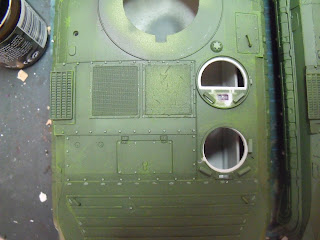
Hi guys, had a really busy weekend. Made some great progress on both dios and managed to sort the track problem on the S-2. Hopefully It will be 'mobile' by the end of next week, maybe even finished! Anyway, I got the base cut, stuck and vehicles embedded in it. The rough shapes of the vehicles were cut on a band saw and glued to an MDF base. The holes were then trimmed so as to accept the vehicles. Polyfilla was mixed and spooned into the holes to about just under half way. However, it was made sure that there was a crater in the middle of the Polyfilla so as to allow the vehicles to settle. Once fully hard, the small gaps will be filled and sanded. I have also ordered my chosen water product from Model Hobbies. After about 2 weeks deliberation, I have settled on the Deluxe Materials Solid Water Set (350ml Edition). I was originally going to but both Vallejo Still Water and Woodland Scenics Water Effects. The plan was to create a flat surface with Vallejo and then texture it with WS. Research and logic forced me to seek a different option, I picked DM. Although, this is my first time using a purpose made water product so could go either way. It should arrive soon, I ordered it a few days ago.
(P.S, the Panther in some of the pictures is my Dad's, so no, I am not turing to the dark side :p )
Enjoy...
Sunday, 6 October 2013
Tuesday, 17 September 2013
Chechnya River Crossing - Part 3
Hi guys, another update on the Chechnya front and I've decided to replace the T-80 with another BMP-1. The line up now stands with two Dragon BMP-1s and an Alanger BTR-D. After having got all vehicles ready, I primed them with white and per-shaded with Vallejo Black Grey. For the first time ever, I used a different green!! I tried Vallejo Model Air Field Green mixed with Vallejo Model Colour Olive Green and found it to be very pleasing. As usual I began with Olive Green for the scratches and a dark brown chips. Once sealed with varnish, I did another new thing, used a pre-made wash from AK instead of using Abteilungs. Dark Brown for Green was applied around all bolts and in panel lines followed by, finally, DRY TRANSFERS! It has taken a couple of years to get around to buying them but seeing as it was my birthday, I just added them to my order :) . They were applied roughly so as to appear chipped. Yet another first for me was pre-dusting. A general dirt colour was mixed and air brushed along crevices and hatch openings so as to form a base for further grime. As mentioned, it had been my birthday and I was kindly given a budget by my parents which I then spent on an array of Mig and AK products. Multiple combos and layers of mud washes were then applied to the upper hull. Since this was over a month ago, I can't really remember everything I did so will just post the pictures, sorry. I will try and get back to more regular updates after Telford or before.
Subscribe to:
Posts (Atom)


