

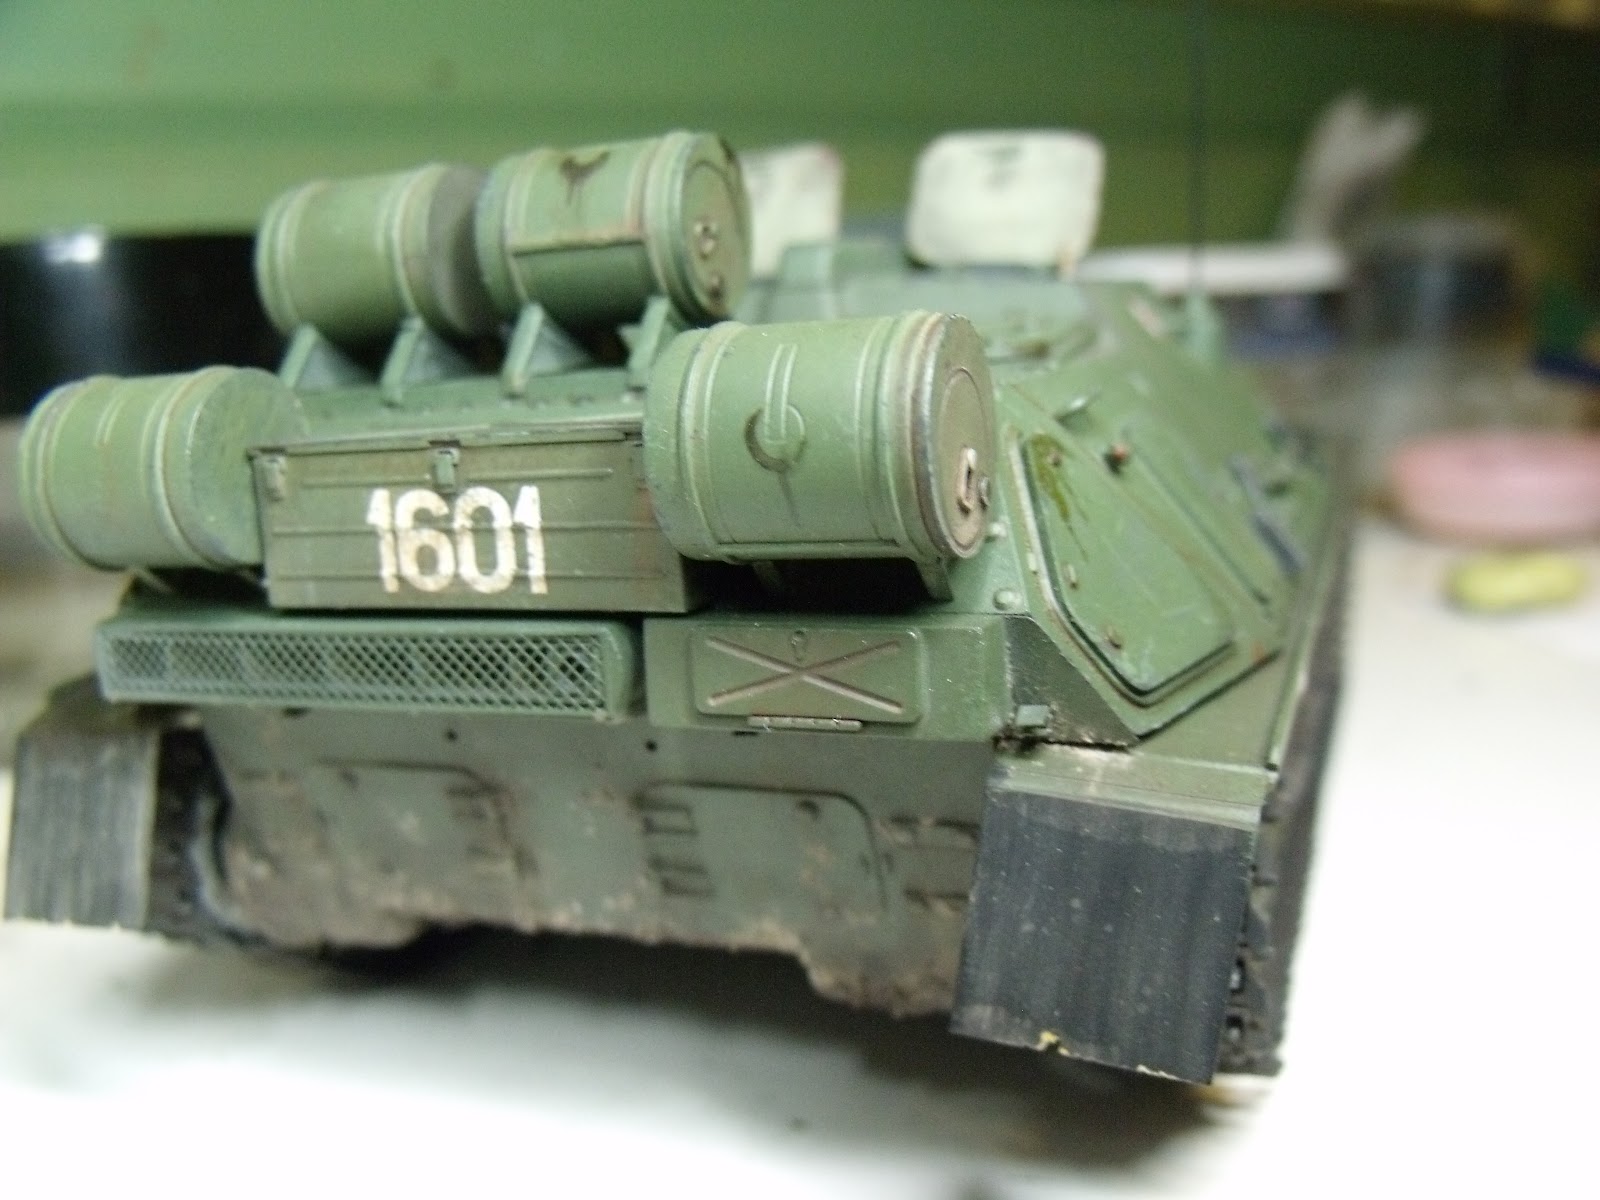
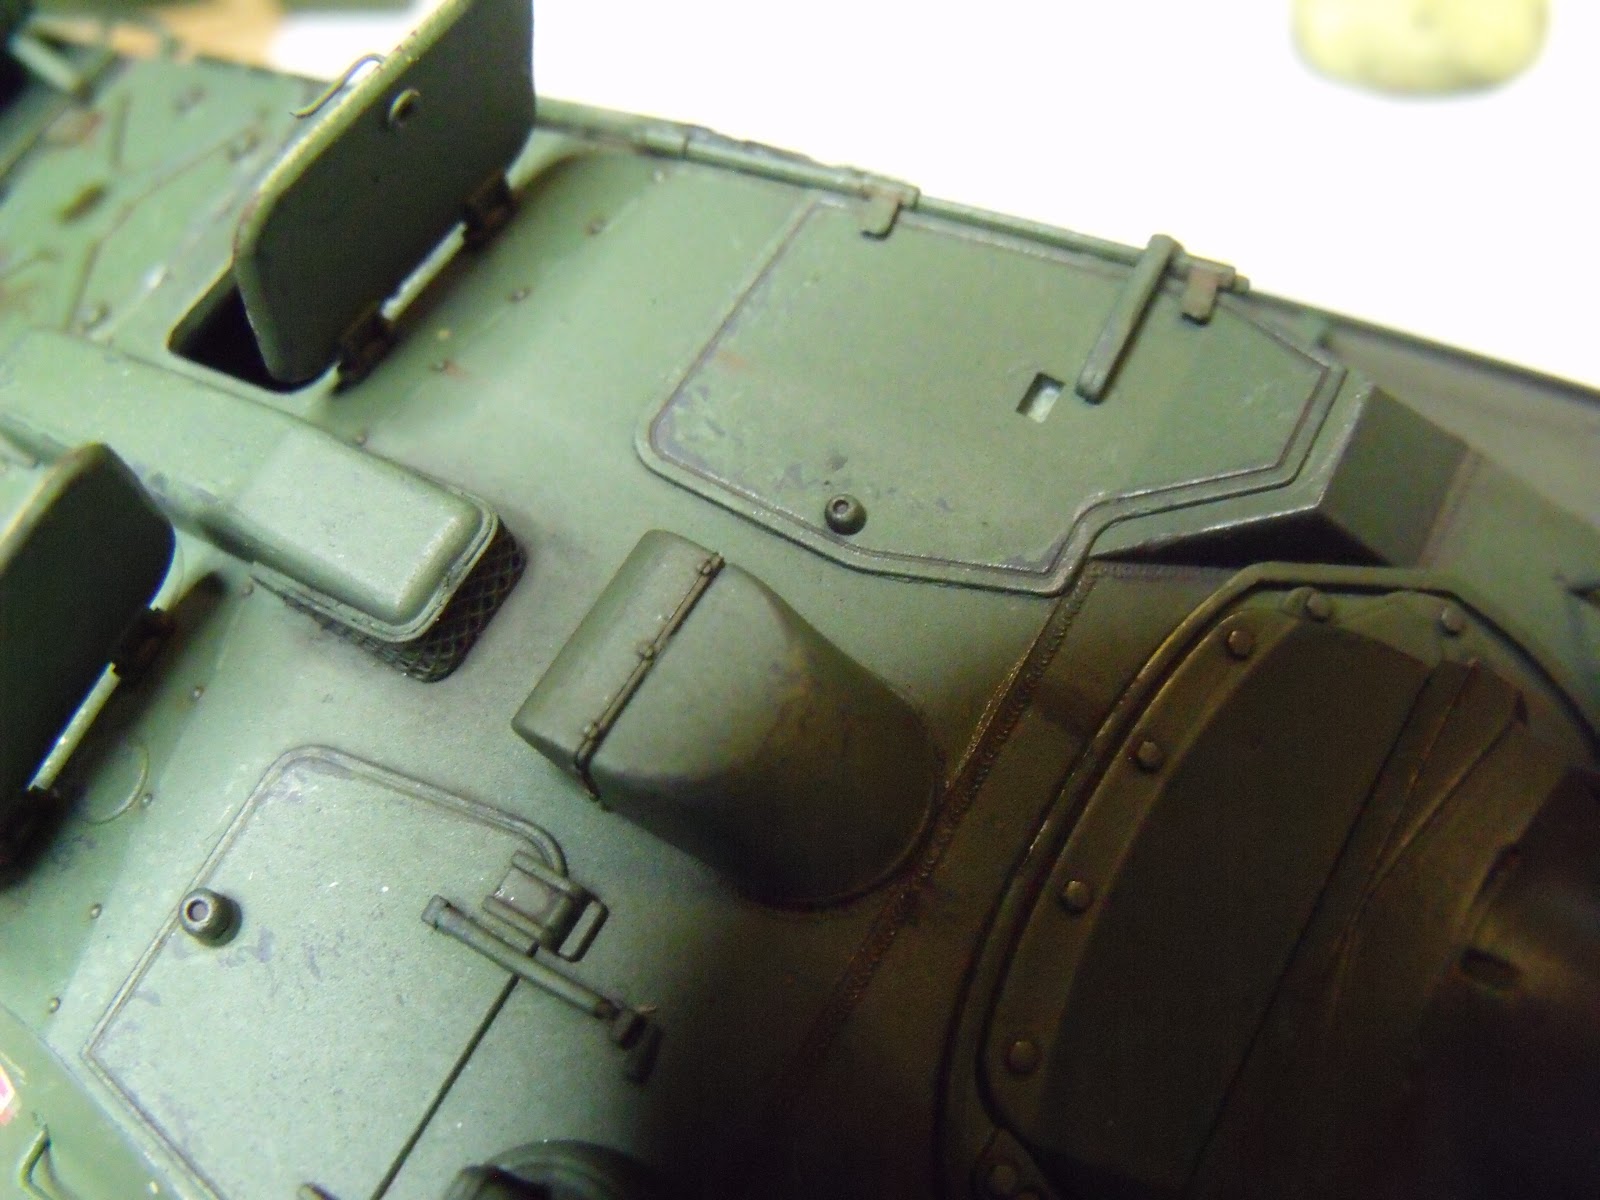
This is my first post and just to say now, I am not one of those people who are obsessed about things being historically correct. Some people are and thats fine, but I mainly do my models to try and be aesthetically pleasing.Anyway, I thought I'd start by putting up some images of one of my recent projects. Its the Trumpeter ASU-85. Built entirely out the box, it was a very nice kit to build and paint. This is the first time I'd used the shading method of spraying "Frames" around panel edges and them doing the base colour. I began with Halford's grey primer, then white and black frames. Finally I created a green using vallejo paints. However, I made the mistake of dulling down the black frames, misting them with white to try and make them more subtle. I over did it and almost erased the effect. After that a coat of Vallejo Model Air Matt Varnish was applied in preparation for oil streaking and washes. This was also the first time first time I had used oils, ever. It had been my birthday recently and using some of my money, I invested in some. I bought the Abteilung 502 Weathering Set, Black and Light Rust. To go with that I also got Mig Thinners for Washes, Filter for Light Green Vehicles (Still not used it), Pigment Russian Earth and Rubble Dust.

 I painted the periscopes and lights etc, Games Work Shop Ice Blue, followed by a thin coat of Tamiya Smoke. Tyres were painted Revell Tar Black. The splash board was "Chipped" with a Stanley knife in an attempt to add some dimension, then dry brushed with a light wood colour. Rather crudely I admit, I painted the range finding poles red and white to add a bit of contrast. From there, I proceeded to add chips to the vehicle. Being and old vehicle and being in Polish service, I reckoned it would'nt be as well kept as a Russian one just off the drawing board. Various washes were applied around the vehicle, I instantly fell in love with oils as soon as I made the first stroke, I had been missing out. Dots of oil paint were placed on chips and then streaked down with a damp, flat brush. I had been reading up on techniques and how to use oils, for several years so knew roughly how to use them straight away. But me being a Scotsman, I grudged paying so much money for a wee tube of paint, I am gald I did though. Pigments were also dusted around the tank. Mud was then added to the lower hull. Over all it only really took me 5 hours work from build to weathering to get it finished. Hope you enjoy the pictures, some are a joke with obscene amounts of stowage on the front glacis.


P.S. I am 14.
ReplyDelete